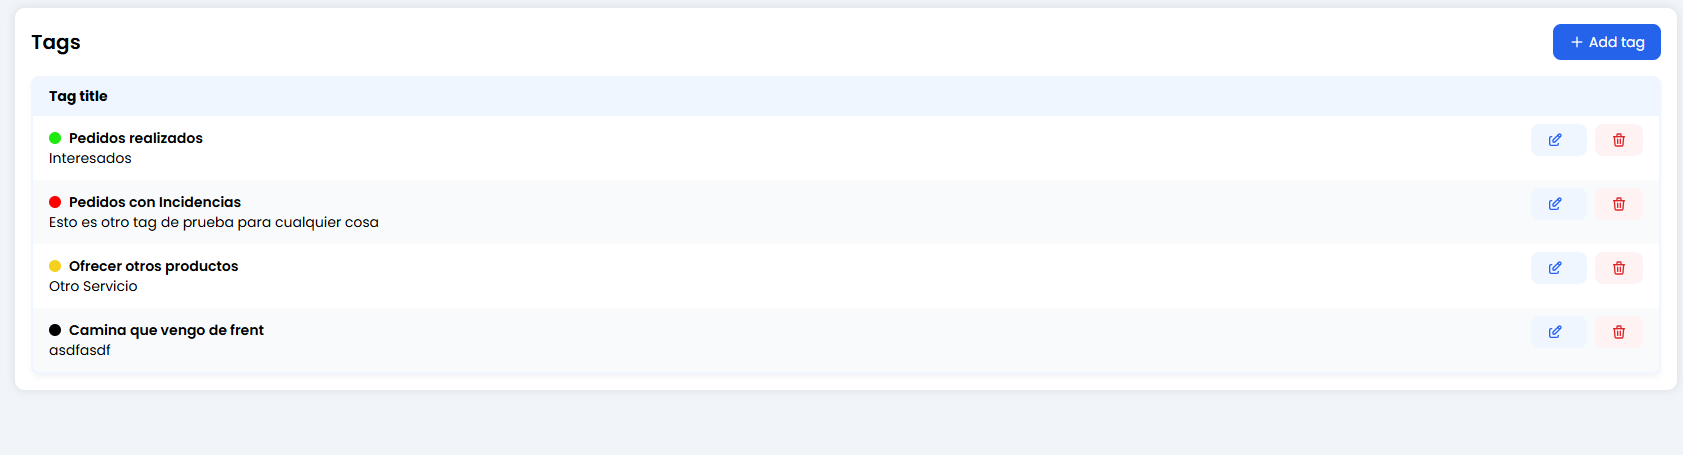
🎛️ Your Tag Collection
In the main view, you’ll see the full inventory of available tags.- Title (Bold): The short name of the tag (e.g.
Orders Completed). - Description (Subtitle): A quick reminder explaining when to use it (e.g.
Interested users). - Colour Dot: Crucial for visual prioritisation (Red = Risk, Green = Success).
🎨 Creating a New Tag (+ Add Tag)
 When creating a tag, you define three simple but powerful elements:
1. Tag Name (The Title)
This is the keyword you’ll see in the chat.- Restriction: Maximum 25 characters. Keep it short.
-
Tip: Even if the system supports underscores (
_), you can use spaces if it’s clearer.- Good:
Closed SaleorIncident. - Bad:
Customer who has a problem with shipping(far too long!).
- Good:
2. Tag Description (The Guide)
This text appears under the title in the list.- It helps your human team (or your future self) understand exactly when this tag should be applied.
- Example: “Use only when the customer has paid and received confirmation.”
3. Tag Colour (The Traffic Light) 🚦
Assign a visual meaning to each tag.- 🔴 Red: Problems, complaints, or errors (
Incident,Bug,Angry Customer). - 🟡 Yellow: Pending items or open questions (
Question,Waiting for Info). - 🟢 Green: Successes and sales (
Sale,Resolved,Happy Customer). - ⚫ Black/Grey: Neutral categories (
Information,Opening Hours).
🚀 Where are these tags used?
Once created here, tags come to life in two key places:- Livechat: Human agents can manually apply tags to conversations before closing them.
- Analytics: You can measure how many chats are tagged as
IncidentvsSalesand make better business decisions.